
Can’t See Anything Through Your Telescope? Easy Fix HERE!
Disclosure: This post contains affiliate links and I may earn a small commission (at no extra cost to you) if you click through and make a purchase. Thanks in advance – I really appreciate it!
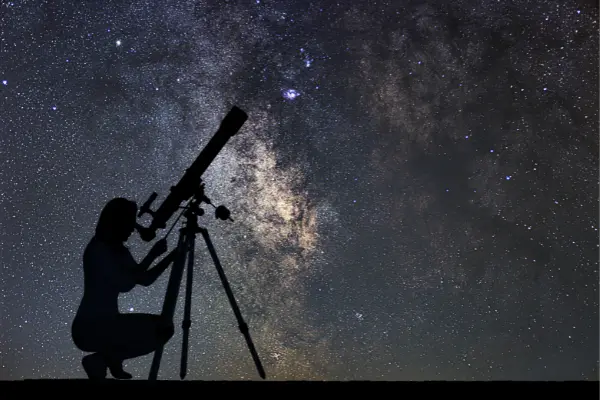
Over the years I have come across this situation so many times – Budding astronomers purchasing their first telescope, all excited about what celestial wonders they will come across. But then, something goes wrong, and instead of twinkling stars they end up seeing absolutely nothing through their telescope.
If you find yourself in the same situation right now, then don’t worry. It’s quite common even with the most advanced automatic telescopes.
Key Takeaways:
If you are not able to see anything through your telescope, you will need to make sure the finderscope is aligned with the telescope. To align the finderscope, focus the telescope sharply on a distant object, look through the finderscope and center the crosshairs on the same object.
There are a few more things that you can do to make sure that you get clear views of the night sky through your telescope, rather than pitch black darkness.
Related: Best Telescope For Home Use; Reviews
Can’t See Anything Through Your Telescope? These Tips Might Help!
1. Align The Finderscope With Your Telescope.
During the daytime, aim your telescope towards a distant object such as a telephone pole, an antenna, a tree, church spire, edge of a building, etc. It must be something clearly defined and far away, as close to infinity as you can get.
Using your lowest power eyepiece (the one with the highest focal length number printed on it), look into the eyepiece of the main scope and center it on a target. Once you’ve established a nice crisp focus and the object is sharp in the eyepiece, look through the finderscope and adjust it to show exactly the same point.
I highly recommend that you double-check your alignment by using the finderscope to select another randomly chosen target to see if it’s in the main scope.
The time spent aligning your finderscope during the daytime will save you from a lot of frustration while trying to locate objects in the dark of the night.
Related: Best Intermediate Telescope; Reviews
2. Choose The Right Eyepiece For Your Telescope.
This is one of the most common mistakes most beginners make. The most important thing when trying to find any object in the night sky, is to start the wider field typically
associated a low magnification eyepiece, which means using the eyepiece with the largest number on it, generally 20 or 25 mm.
When you look through a higher magnification eyepiece, things do look bigger, because the amount of light in the object is spread over a bigger area, so things actually look dimmer.
Moreover, you see less of the sky, just like using the zoom when taking a photo. Even finding a big object like the Moon can be tricky using a high magnification.
Only increase the magnification once you have your target nicely centered in a low power eyepiece and, again, do so progressively, making gradual shifts in focus until you have the sharpest possible image.
3. Align The Star Diagonal.
Refractor telescopes have a start diagonal, which allows more convenient and comfortable viewing when the telescope is pointed at, or near the zenith (i.e. directly overhead).
When you look at an object high in the sky, the eyepiece is facing down toward the ground. If you looked through the eyepiece directly, your neck would be bent at an uncomfortable angle. So, a 45-degree mirror called a star diagonal is used to deflect the image into an eyepiece, making the viewing angle more comfortable.
Refractors rely on the star diagonal to bring the eyepiece into the focusing range of the telescope, so if you can’t get anything to focus, use the lowest magnification and make sure you always have the diagonal in place between the eyepiece and the telescope.
Related: Best Computerized Telescope; GoTo Reviews
4. Let Your Telescope Cool Down Before Using.
In most situations the temperature indoors is much warmer than outside, so the telescope will usually be much warmer than the surroundings and it will have to lose its heat to the cool night air.
The difference in temperature will cause currents inside the tube making the image blurry, particularly with a higher magnification.
I highly recommend covering the optics and leaving your telescope outside for an hour or so before observing to give it some time to cool down.
Related: Best Celestron Telescope; Reviews
5. Get Your Eyes Dark Adapted.
You’ve probably noticed that when you first go outside from indoors on a starry night, you can see relatively few stars. But then, as your eyes adjust to the darkness, many more stars come into view.
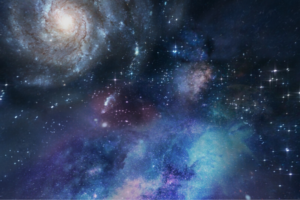
This phenomenon is called dark adaptation, and it is crucial for visual astronomy, especially for observation of faint objects, such as galaxies and nebulas.
Don’t expect to see faint objects in the eyepiece if you have been spending time in front a TV, computer or looking at your phone. Blue light from the screen destroys your night vision more than the red light and you would need at least 10 – 20 minutes to get used to the dark.
Red light is much less of a problem, so amateur astronomers generally use red torches to see things in the dark.
You may look at this High Power One Mode Red LED Flashlight on Amazon if you are at the risk of losing your night sight with your current light situation.
Also, avoid bright sunlight as much as possible during the day prior to an evening’s observing session, especially later in the afternoon.
Exposure to intense light can hamper your dark-adaptation for a long time! Wear sunglasses when you have to go outside.
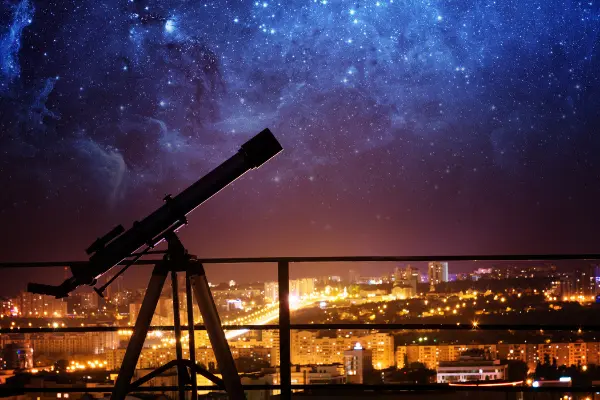
6. Move Away From The Light Pollution.
In light-polluted areas, do whatever you can to block ambient light from your eyes. For instance, consider using a dark shroud over your head to block out distracting light when at the eyepiece. Cupping your hand around your eye and the eyepiece helps, too.
You may consider wearing dark glasses or special red night-vision goggles at all times except when looking through the eyepiece. It may seem odd to wear dark glasses at night (and certainly don’t do that when you’re driving), but it can be a real help.
Related: Best Telescope For Teenager; Reviews
7. Use Averted Vision.
Averted vision is a technique in which you look off to one side to expose the most sensitive part of your eye to better see much fainter objects. If you’ve never tried this before, you’ll be amazed how well it works, with a telescope.
With a little practice, averted vision reveals objects 20-40x fainter than direct vision. That’s a huge difference.
The rod receptors in your eye, which are most sensitive to dim light, are more highly concentrated around the periphery of the retina than in the center. This means that you can see faint objects better by looking slightly off to the side of them rather than straight at them.
Your eye is structured such that you see the faintest objects if you look 16-20 degrees off center. The exact angle is a little different for each person.
This only works if the object you’re looking at is on the nose-ward side of your eye. So look slightly rightward with your right eye and leftward with your left eye.
Read more: Best Telescope Under $300; Reviews
Don’t Expect The Same Quality Views As On The Telescope Box.
Even the best telescopes available in the marketplace cannot show you those amazing views of nebulae and galaxies depicted in colour on the telescope box.
At best, even the brightest deep-sky objects appear as very pale fuzzy patches. But even allowing for that, people often have real trouble spotting what are meant to be easy-to-find objects.
Related: Best Telescope Under $200; Reviews
8. Not All Nights Are Great For Stargazing.
There are several factors that can affect your night sky stargazing experience as all clear nights are not the same.
The time during a full Moon is the worst time to stargaze as natural moonlight washes out the light from most stars leaving only the brightest visible.
Summer months mean long days and short nights and significantly reduces stargazing opportunities. The hours of morning and evening twilight are longer during the summer.
The skies take longer to get dark after sunset and get lighter earlier before sunrise. This leaves only a short period in-between to view dark skies — around the summer solstice (the longest day) it hardly gets dark at all!
If you can brave the cold, the sky is at its best on crisp, clear winter nights when there’s no humidity in the air.
Read more: Best Telescope For Smartphone Astrophotography; Reviews
If after all this, you still can’t see the objects you’re looking for, it’s possible that there’s something wrong with your telescope.
The simplest way to confirm this is by removing the eyepiece altogether and looking centrally into the focuser. You should be able to see the circular aperture itself, with a circular shadow in the middle caused by the secondary mirror unless you are using a refractor.
If things aren’t symmetrical, even if you’re sure you’re looking centrally, it may just be that the telescope needs attention.
Written by:

Kavya Joshi
My love affair with space began in a field in India at the age of 7, when I looked up at the Milky Way for the first time. Ever since, I have been attempting to cram in every fact about the Universe, I can find into my head.
ABOUT US
We are a team of active amateur astronomers, here to help you with all your astronomy and science related needs – this is anything, from reviewing the latest telescopes to be released to talking about gravity and neurons. The Big Bang Optics was started because of our love for astronomy and to help others like us find the best telescope and accessories.
LEGAL DISCLAIMER
The Big Bang Optics is a participant in the Amazon Services LLC Associates Program, an affiliate advertising program designed to provide a means for sites to earn advertising fees by advertising and linking to Amazon.com. The Big Bang Optics also participates in affiliate programs with Clickbank and other sites. The Big Bang Optics is compensated for referring traffic and business to these companies.